
At first glance, the three processes in the title of this blog have seemingly nothing in common. But makers think differently. We are constantly reaching into our bag of tricks, trying to find novel ways of mashing up our various talents. I recently decided that it was high time I improve my Adobe Illustrator skills. Illustrator is easily one of the most popular vector design softwares out there and is a brand standard in the graphic design world. The generation of vector graphics is necessary when using most computer controlled machinery such as laser cutters and milling machines. When I worked at a makerspace, I put off learning the program because our focus was always on teaching CorelDraw, the red-headed stepchild of the graphic design software family. We found Corel's interface less intimidating for first time graphic designers. Of course, we had our fair share of passholders who favored Illustrator and I always felt at a loss when those individuals ran into trouble with their designs. I couldn't help them because I just never put in enough time into learning their favored software.
Flash forward to a week ago. I knew that I had to make this transition if I was to be useful to any of my future clients. So, I jumped onto Skillshare (not a paid promotion, by the way) and looked for some easy classes in Illustrator for beginners. I discovered a class by Kevin Moran in simple icon design which I followed and enjoyed immensely. My eyes had been opened to a more streamlined workflow for graphic design. Aside from the interface and the shortcut keys, Illustrator was fairly similar to Corel but much faster and, in many ways, more intuitive than I remembered it being.
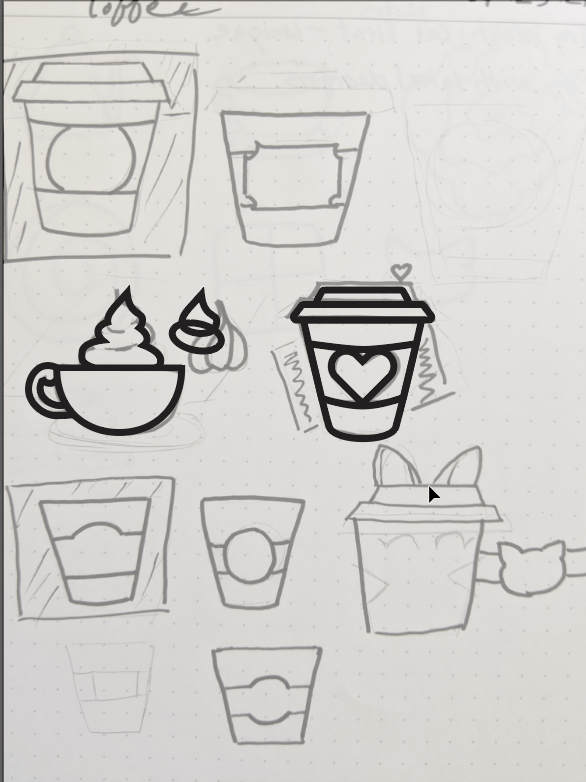
My wheels immediately began turning. If I could create icons so quickly and easily in Illustrator, did I then have a way of designing custom resin bezels for my UV resin class? Although there are a plethora of bezels out there, I wanted the ability to create something unique to my company and to my classes. So, of course, I immediately had to try it.
Because it’s Adobe, you have the ability to save your design in umpteenth billion different formats. I chose .SVG because of its compatibility with other softwares and EUREKA! Now we were in business. I immediately brought the file into Autodesk Fusion360 and started flinkering.
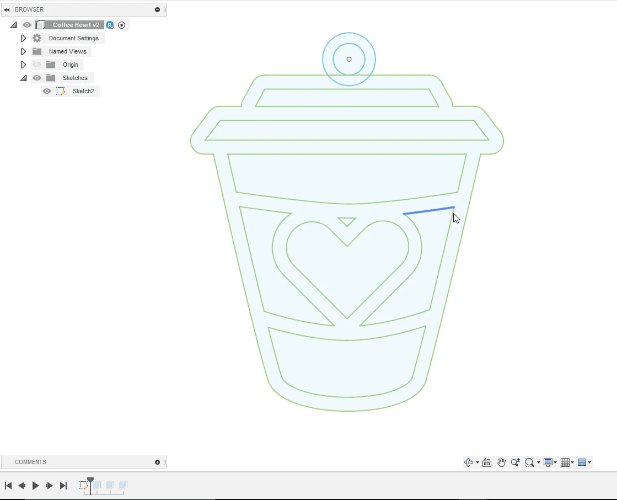
I had forgotten to add a circle at the top so the charm could be worn or used as a keychain so I quickly added that to my imported sketch in Fusion. All that remained was to make it 3D.
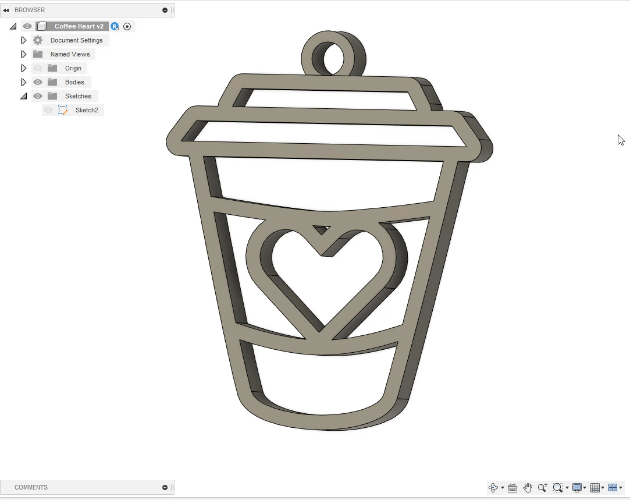
Success! I nearly fell out of my chair with excitement. Now, my next question was could I 3D print this?

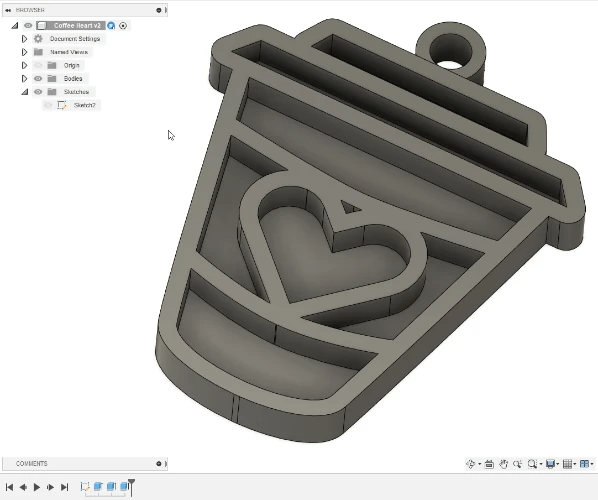
As my 3D printing robot did its job, I started thinking about how I might take this to the next level by casting the design in pewter using Petrabond casting sand. Immediately I saw a potential problem. Molten metal doesn't pour out in a fine stream or flow, like water. It’s more akin to molasses or caramel. Casting in Petrabond is a lot like old-fashioned candy making using powdered sugar or cornstarch as a mold. With this style of candy making, a shape is pressed into the powder and then carefully removed, leaving an impression. Molten sugar is then poured into the recessed design. When it hardens, the candy maintains the details of the impression. I wasn’t entirely certain that I could actually pour molten metal to fill in the fine lines of the coffee cup without it spilling over. So, it was back to Fusion360 to make some adjustments. In a matter of seconds, I added a back to the original design.
I wound up printing both designs, just to see what they looked like.

I still have yet to cast these in metal but stay tuned! That will be the next step in this journey. It's an incredible feeling to go from a design on a computer screen to something tangible, like a 3D print. It makes the entire design process more real in a very rewarding way. Connecting the dots between seemingly disparate crafts is a useful and deeply fulfilling skill. It imparts a feeling of empowerment, giving you the creative confidence to keep experimenting. The process utilizes real-world problem solving that translates across disciplines. I would even go as far as to argue that this way of thinking is applicable to everyone, regardless of your immediate career. So, in what ways have you connected your maker dots lately? How might you use this process to benefit your current line of work? Please share your ideas in the comments below!
And, if you’d like to find out how to turn bezels, like the ones mentioned in this blog, into resin works of art, please check out my UV Resin for Beginners class and make your reservation today!